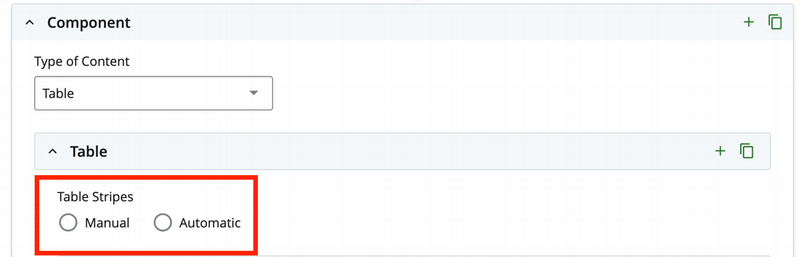
Select the Table component from the dropdown to begin building your table.
Select Table Striping Method
Choose between Manual or Automatic striping.
Manual striping allows you to manually control which rows have a grey background.
Automatic striping applies the grey background automatically.
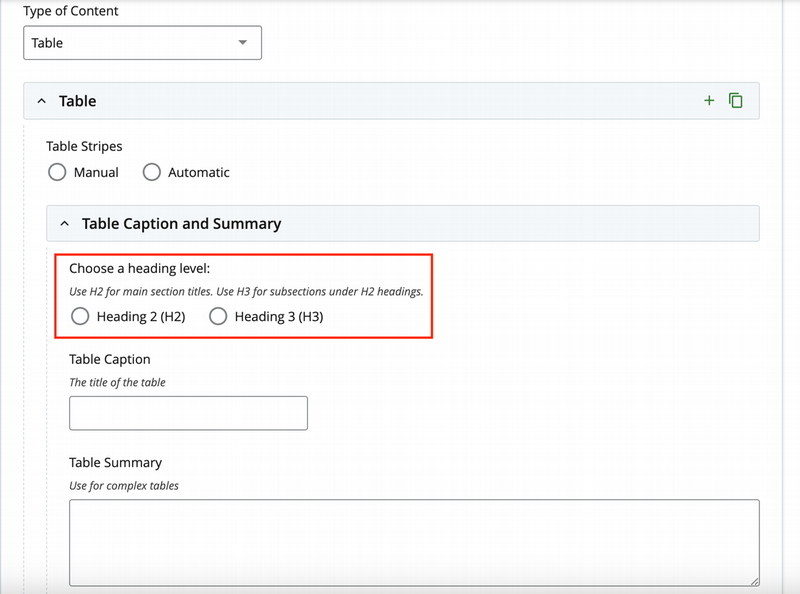
Choose Table Caption Heading Level
Select either H2 or H3 for the caption, based on your page's heading hierarchy.
Add Table Caption and Summary
Enter a table caption to describe the table's content.
Optionally, provide a table summary to help users better understand and navigate the table. This step is recommended but not required.
Include a Table Header (Optional)
Under the "Include Header" label, select 'Yes' if you'd like to include a table header with a blue background to label the type of information in each column.
In the "Table Header" section, add a header for each column in your table.
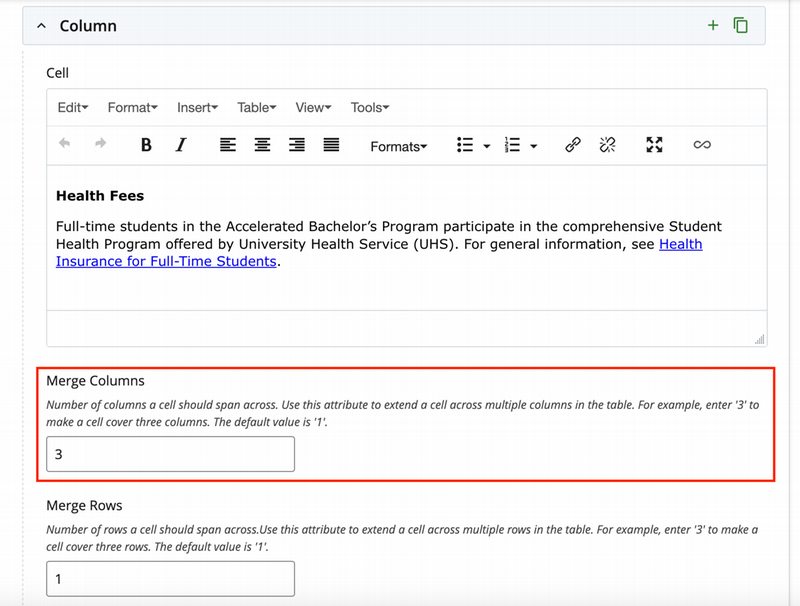
Use the merge field to make a header span multiple columns. For instance, enter "3" if the header covers three columns.
Add Table Rows
To add rows or columns, click the "+" button at the top-right corner, next to the "Copy" button.
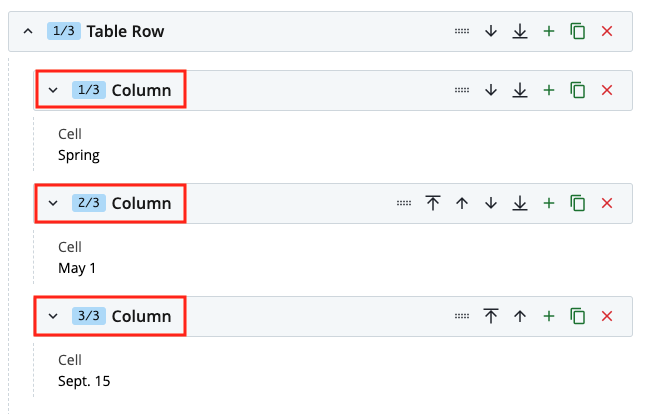
Each row corresponds to a row in the table, and the number of columns in a row should match the number of cells.
For example, if the table has 3 rows (excluding the header), you'll need to create 3 "Table Row" sections. .
If the table has 3 columns, each row should contain 3 column sections.
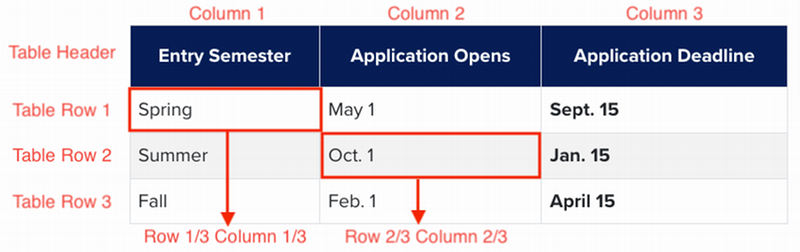
The picture below explains how table rows and columns correspond to the Cascade editor's row and column fields.
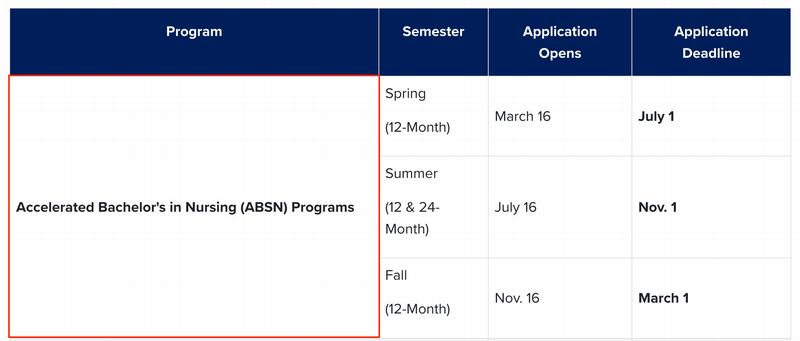
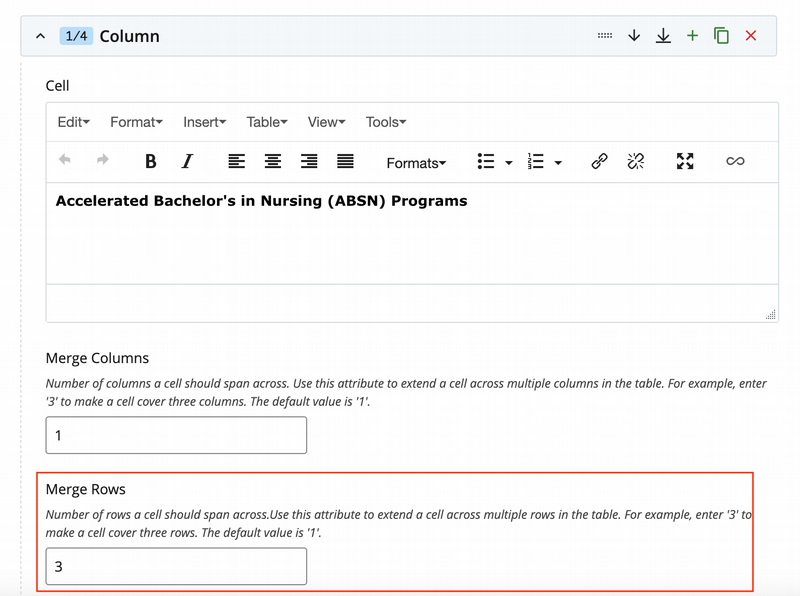
Use merge columns and merge rows fields if you want any rows or columns to span multiple cells, similar to how it's done for headers.See examples of merged rows and columns below:
Merged rows:
Merged columns:
Add Multiple Tables
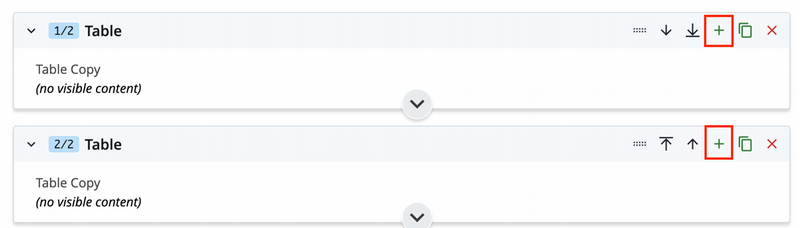
You can add multiple tables on the same page. To do this, click the "+" button located at the top-right of the table dropdown.

 .
.