Creating Links

There are three types of links that users can add to a web page: 

  • internal - a link to another page (or file) within SON website;
  • externala link to a page in another website;
  • clickable email address

Although the WYSIWYG editor is a field in components, the way links are created in WYSIWYG editors differs from the Call to Action Links/Buttons in components. 

WYSIWYG Links

Internal Links

  1. In the WYSIWYG select the text with your mouse
  2. Click the "Insert/Edit LinkLink Icon tool in the toolbar 
  3. In the dialog box click on "Internal" checkbox (already selected by default)
  4. Click the "Choose File, Page, or Link" button to find the page or file
  5. The links at the top of the dialog box on the right allow you to choose Recent for assets that you have recently selected, Browse to select any page or file in your site, Starred to select assets that you previously created shortcuts to, or Upload to upload a file to the WCMS from your computer
  6. Select a page or file and click "Choose"
  7. Click "OK"

External Links

  1. In the WYSIWYG select the text with your mouse
  2. Click the "Insert/Edit LinkLink Icon tool in the toolbar 
  3. In the dialog box click on "External" checkbox
  4. Type or copy/paste the link in the field labeled "Link" (be sure to use https not http)
  5. From the Styling section of the dialogue box, select "link-ext"
  6. Click "OK"

Component Links

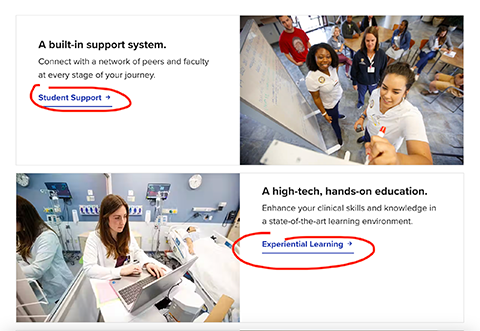
Most of the SON website components include Call To Action Buttons. Call to Action Button (CTA) is a prompt on a website that tells the user to take some specified action

CTA Buttons on SON website are already styled by developers. All users have to do is add an external or internal link and button text.

Component CTA Buttons 

Internal Links

  1. For internal link buttons select "Internal" checkbox. Click on the "Choose File, Page, or Link" button
  2. The links at the top of the dialog box on the right allow you to choose Recent for assets that you have recently selected, Browse to select any page or file in your site, Starred to select assets that you previously created shortcuts to, or Upload to upload a file to the WCMS from your computer
  3. Select a page or file and click "Choose"
  4. Click "OK"
  5. Type the name of the button in the "Button/Link Text" field

External Links

  1. Type or copy/paste the link in the field labeled "Link URL" field (be sure to use https not http)
  2. Type the name of the button in the "Button/Link Text" field
  3. Check "Yes" radio button to open the link in a new tab
  4. Check "Yes" radio button to add and External Icon next to the button text (recommended).

Clickable Email Address

  1. Click the "Insert/Edit LinkLink Icon tool in the toolbar and click on "External" checkbox in the dialog box
  2. Type the words mailto: followed by the email address in the field labeled "Link" (for example, mailto:example@urmc.rochester.edu)
  3. Click "OK"
Scroll to top of page