Editing an Existing Page

Finding your page

1. Click on the "SON" link in the "My Sites" section of the dashboard.

2. Locate the folder and the page that you would like to update. Once you click on the page, the preview of the page appears on the screen.

Cascade CMS Locating Folder and Page

3. Click on the "Edit" button on the top right.

4. Click Show Edit Preview to see a preview of your changes alongside the edit screen as you make them. With each change you make, the edit preview will refresh to show you what your content will look like.

Editing Components

5. Each dropdown item in the edit area corresponds to a component on the page. Identify which component you would like to edit and click on the dropdown arrow. Each component contains numerous fields or groups of fields, dropdowns, radio buttons or check boxes which allow you to customize the content and look of the component. 

Cascade CMS Locating Folder and Page

To add a new component, click the "+" button on the right corner of a Section. A new Section with a dropdown will appear underneath. Select the component that fits most for your content.

To help you decide on which component is the best fit for your content, please refer to our component library that has the list of all the components and their customization options.

Component Library

Some components include a WYSIWYG editor. WYSIWYG stands for, “What You See Is What You Get,” and it has its own toolbar that allows you to format text. This toolbar has buttons for Bold, Italic, Bullet List, Link & Image Upload Buttons, and other features similar to a word processing program.

Editing the WYSIWYG field

Previewing Changes

6. When done editing, click "Preview Draft" Button to see the changes you've made. If everything looks good, click the "Submit" button. In the workflow window you can leave a comment to provide information about what has changed for that particular version. Comments can be replied to, (un)resolved, and deleted. Asset comments support @mentions. If you "mention" a user, an automatic email will be sent to the user with a link to the page.

Click "Check Content & Start Workflow" button.

Check Content and Start Workflow

Content Review & Workflows

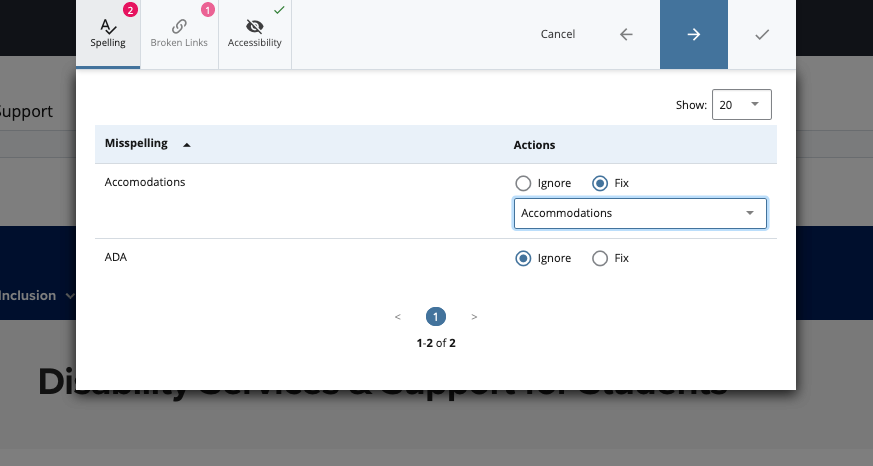
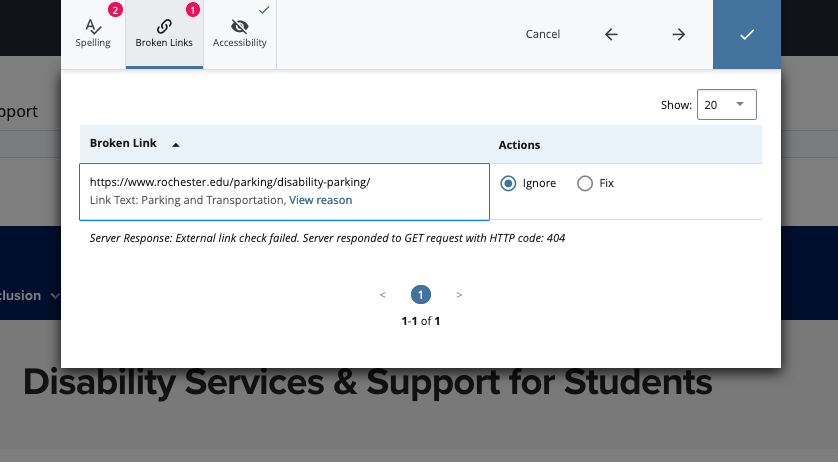
7. The next window will let you fix misspelled words and broken links. You have the following options for handling each misspelled word or broken link:

Ignore - Disregard the word or the link.
Fix - Enter your own correction or choose from a list of suggested replacements.


Check Spelling Cascade WindowBroken Links Cascade Window

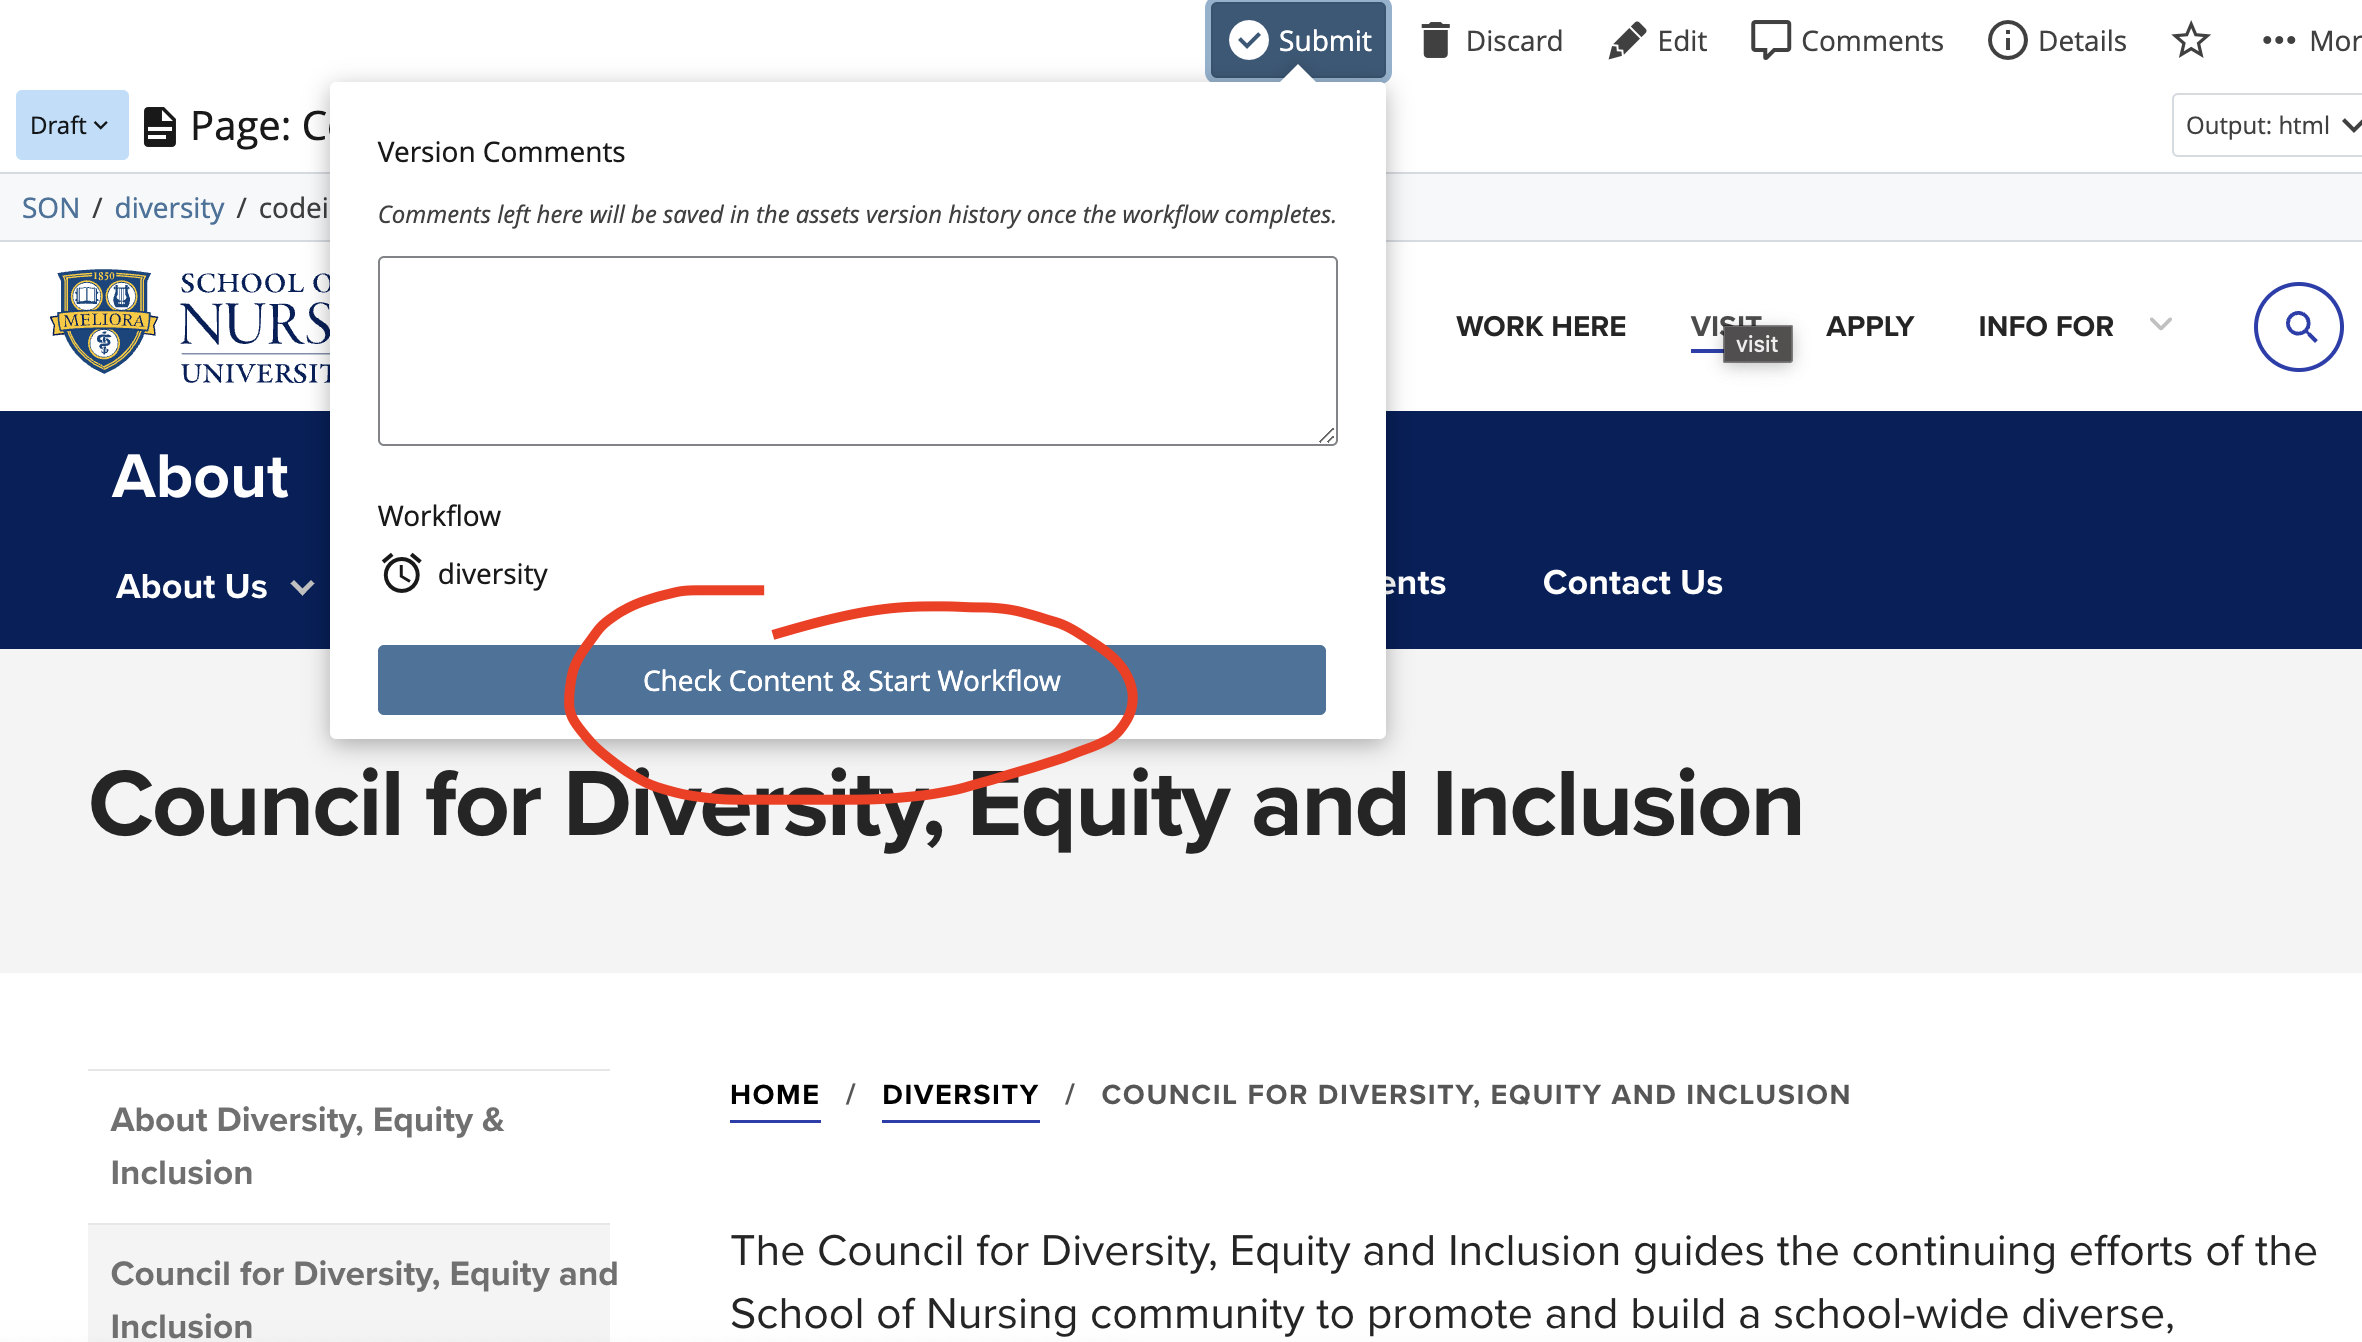
8. When done, click the blue Check button to go to the workflow section. A workflow is a series of steps that content must go through before it can be published live.

Fill out the Comment fields in the workflow window. The Workflow instructions are comments with workflow related information (e.g., what needs to be reviewed or changed by the content manager). The Version Comments are saved in the asset's version history once the workflow is completed. Select the timeframe when the content review is due. Click "Start Workflow". The Content manager will be notified by email when the workflow is assigned to them.

cascade workflow section

 If the Content Manager and the Developer approve the edits, the workflow is complete and the page will be published. If either the Content Manager or the Developer send it back to the user for further review, the user will be emailed, and the workflow process starts over again.

Scroll to top of page