Using tables is a great way to organize data on the web. Tables require proper table headings in order to meet web accessibility standards.
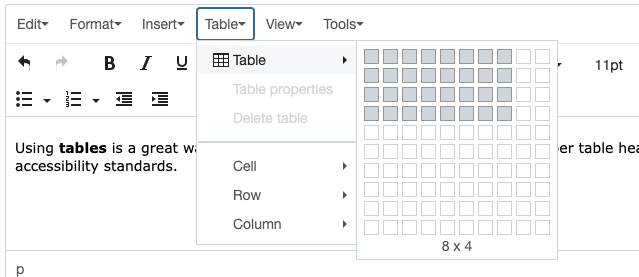
Using tables is a great way to organize data on the web. Tables require proper table headings in order to meet web accessibility standards.
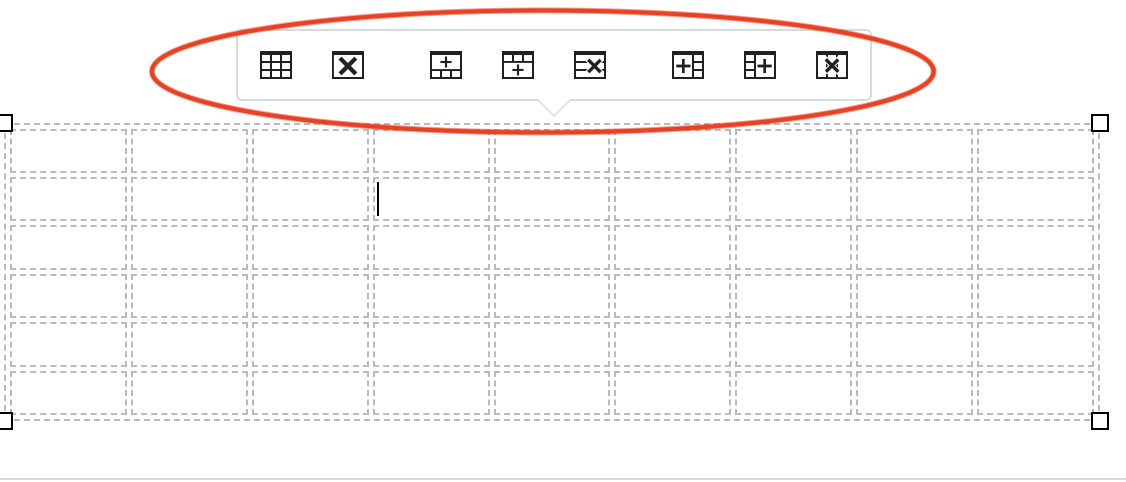
When a table is selected, multiple format options appear below the table. These options can also be accessed from the Table dropdown menu. Table options include:
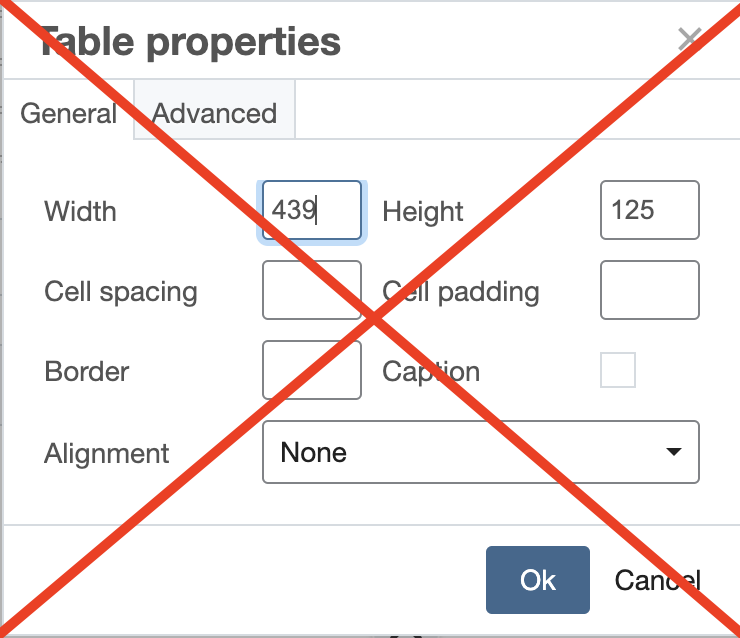
To maintain consistency in table design across the SON website, the tables are styled by developers in the final developer approival stage of the workflow, so please don't change any Table Properties.
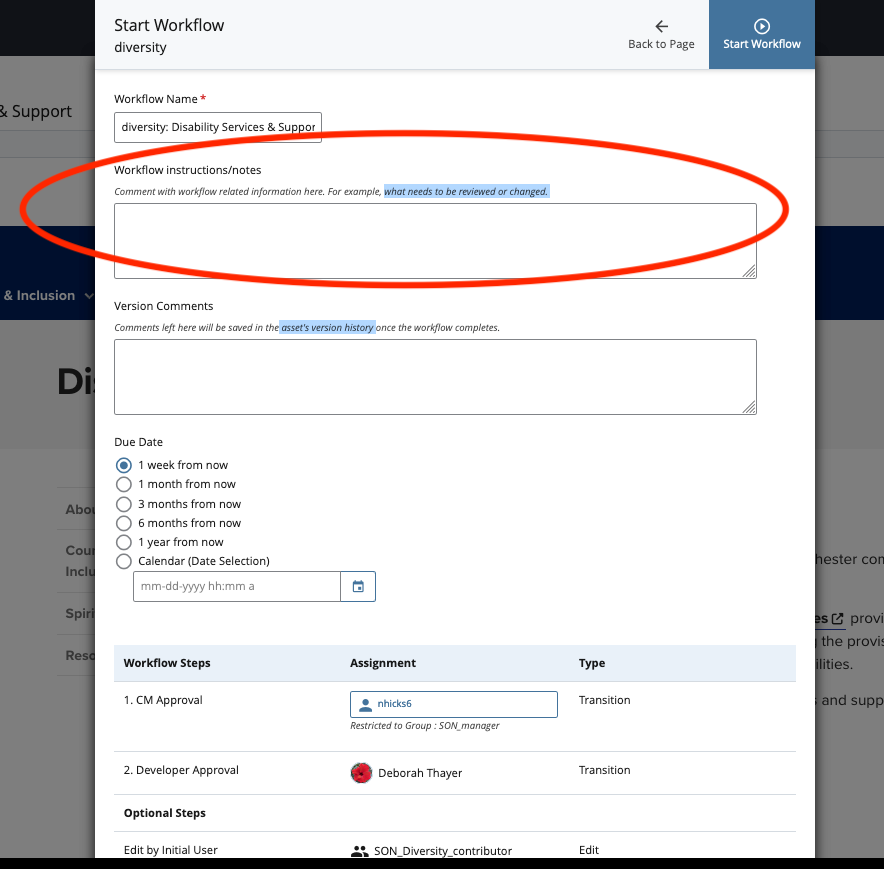
When done editing a page with a new table follow the same process of submitting changes as any other page ("Submit" -> "Check Content & Start Workflow"). In the Workflow Instructions/Notes Section, add a note that the table needs to be styled. Fill out the rest of the Workflow window fields and click "Start Workflow".